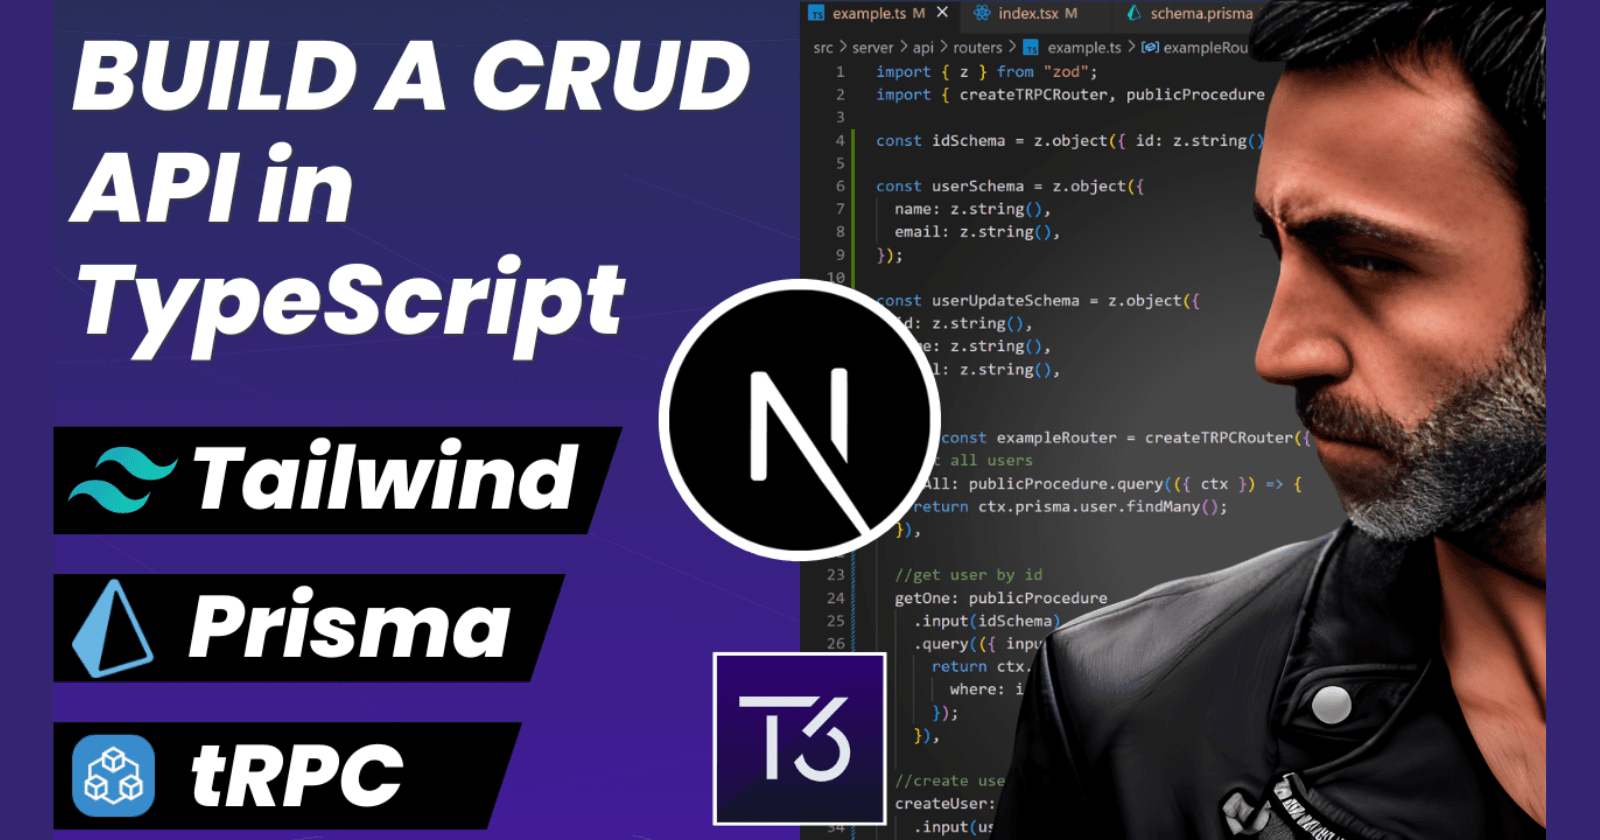
Typescript 🟦 CRUD API: Next.js, Tailwind, tRPC, Prisma Postgres, Docker
👋 Hi, I Am Francesco
I am a Computer Scientist interested in Web3 and DevRel.
I worked from 2017 to 2020 on the Copernicus project for the ESA European Space Agency as a Fullstack Developer.
Docker Captain
I have interviewed 195+ Developers on my YouTube Channel
I am a Developer Advocate at daily.dev
I have founded 4C, a community focused on Content Creation.
By the end of this article, you will understand how to build a FULL CRUD API app, including a simple frontend to use it, using the following technologies:
Next.js
TypeScript
Tailwind CSS
tRPC
Prisma
Postgres
Docker
They are MANY technologies, but we'll keep the example as basic as possible to make it understandable. We will also use Zod, a validation library.
If you prefer a video version:
All the code is available for free on GitHub (link in video description).
Let's get started.
🏁 Intro
Here is a schema of the architecture of the application we are going to create:

We will create five endpoints for basic CRUD operations:
Create Read all Read one Update Delete
We will create the application using Create T3 App, and we will connect this application to a Postgres instance running in a docker container.
👣 Steps
We will go with a step-by-step guide so that you can follow along.
Here are the steps:
Prerequisites
Project creation and dependency installation
Run the Postgres database with Docker
Configure Prisma and the database schema
Write the tRPC procedures
Configure the handlers in the index.tsx file
write the simple frontend App using Tailwind
💡 Prerequisites
Requirements:
Node.js
Docker
Any editor (I'll use VS Code)
You can check Node and Docker versions by typing:
node --version
docker --version
I suggest using the latest versions.

🚀 Create a new project using Create T3 App
To create our app, we will use "Create T3 App". It's a CLI tool to create a new project with all the necessary technologies.

npm create t3-app@latest
Select all except nextauth (use the spacebar to select/deselect)

This usually takes a couple of minutes.
Then step into the directory:
cd my-t3-app
Now open the project using any IDE. If you use VS Code, you can type:
code .
The project should look similar to this.

We can test the app locally by typing:
npm run dev
And visit localhost:3000

🐳 Run the Postgres container using Docker
Let's run a Postgres container using Docker.
To do this, create a new file called docker-compose.yml at the root level of the project.
Then populate the file with the following code:
version: "3.9"

services:
  db:
    container_name: db
    image: postgres:12
    ports:
      - "5432:5432"
    environment:
      - POSTGRES_PASSWORD=postgres
      - POSTGRES_USER=postgres
      - POSTGRES_DB=postgres
    volumes:
      - pgdata:/var/lib/postgresql/data

volumes:
  pgdata: {}
Explanation:
dbis the name of the single service (container) we will runcontainer_nameis the custom name we are using. In this case, it'sdbimageis the image we are using from DockerHub. We will use Postgres version 12portsis the mapping of the external-internal ports for the container. We will use the default Postgres one to avoid confusion.environmentis to define the environment variables: we will use "postgres" for the user, password, and the database (Don't do this in production!)volumesis to declare the volumes we want to use in this service. We are using a named volume that we also define below.
Now let's run this container by using the command:
docker compose up -d
And let's check that the container is up and running:
docker ps -a

Now we are ready to connect our application to the database and create the database schema
🔼 Connect the App to the Postgres database using Prisma
To connect our application to the database, open the .env file and replace the content with the following:
DATABASE_URL="postgresql://postgres:postgres@localhost:5432/postgres"
This file will be added to the .gitignore and not be pushed to the public repository, so if you cloned the project, you would have to create this file.
Now open and edit the prisma/schema.prisma file replacing it with the following:
// This is your Prisma schema file,
// learn more about it in the docs: https://pris.ly/d/prisma-schema

generator client {
    provider = "prisma-client-js"
    previewFeatures = ["jsonProtocol"]
}

datasource db {
    provider = "postgresql"
    url      = env("DATABASE_URL")
}

//User with an id, name and email as strings
model User {
    id    String @id @default(uuid())
    name  String
    email String
}
We replace the provider with postgresql and the model with a User with:
an id
a name
an email
All fields are strings.
Now, to update the schema in the DB, you can type:
npx prisma migrate dev --name init
And to test if everything is working correctly, we can use Prisma Studio, a tool that comes with Prisma. Type:
npx prisma studio
And open localhost:5555
Then you can add a record manually. This will come in handy later.

__
⌨️ Code the Next.js application
📜 example.ts file
Now that we have set up the database and connected our app, we can start writing some code.
Open the src/server/api/routers/example.ts file and replace the content with the following:
import { z } from "zod";
import { createTRPCRouter, publicProcedure } from "~/server/api/trpc";

const idSchema = z.object({ id: z.string() });

const userSchema = z.object({
  name: z.string(),
  email: z.string(),
});

const userUpdateSchema = z.object({
  id: z.string(),
  name: z.string(),
  email: z.string(),
});

export const exampleRouter = createTRPCRouter({
  //get all users
  getAll: publicProcedure.query(({ ctx }) => {
    return ctx.prisma.user.findMany();
  }),

  //get user by id
  getOne: publicProcedure
    .input(idSchema)
    .query(({ input, ctx }) => {
      return ctx.prisma.user.findUnique({
        where: idSchema.parse(input),
      });
    }),

  //create user
  createUser: publicProcedure
    .input(userSchema)
    .mutation(({ input, ctx }) => {
      return ctx.prisma.user.create({
        data: userSchema.parse(input),
      });
    }),

  //update user
  updateUser: publicProcedure
    .input(userUpdateSchema)
    .mutation(({ input, ctx }) => {
      return ctx.prisma.user.update({
        where: {
          id: input.id.toString(),
        },
        data: userUpdateSchema.parse(input),
      });
    }),

  //delete user
  deleteUser: publicProcedure
    .input(idSchema)
    .mutation(({ input, ctx }) => {
      return ctx.prisma.user.delete({
        where: idSchema.parse(input),
      });
    }),
});
Explanation:
zis a library to validate the input and output of the functions. We will use it to validate the input and output of the functions.createTRPCRouteris a function that creates a router for us. It takes an object with the functions we want to expose.publicProcedureis a function that takes a schema and returns a function that takes a function.idSchemais a schema that takes an object with an id as a string.userSchemais a schema that takes an object with a name and an email as strings.userUpdateSchemais a schema that takes an object with an id, a name, and an email as strings.exampleRouteris the router we will use to expose the functions.getAllis a function that returns all the users.getOneis a function that returns one user by id.createUseris a function that creates a user.updateUseris a function that updates a user.deleteUseris a function that deletes a user.
For a further explanation, check: https://youtu.be/Gf9RkaHnsR8?t=406
📜 index.tsx file
We need to edit just one more file.
Open src/pages/index.tsx and populate it with the following:
import { useState } from "react";
import { api } from "~/utils/api";

export default function Home() {
  //define constants
  const [name, setName] = useState("");
  const [email, setEmail] = useState("");
  const [nameToUpdate, setNameToUpdate] = useState("");
  const [emailToUpdate, setEmailToUpdate] = useState("");
  const [userId, setUserId] = useState("");
  const [userIdToUpdate, setUserIdToUpdate] = useState("");
  const [userIdToDelete, setUserIdToDelete] = useState("");

  //define functions
  const fetchAllUsers = api.example.getAll.useQuery();
  const fetchOneUser = api.example.getOne.useQuery({ id: userId });

  const createUserMutation = api.example.createUser.useMutation();
  const updateUserMutation = api.example.updateUser.useMutation();
  const deleteUserMutation = api.example.deleteUser.useMutation();

  //define handlers
  const handleCreateUser = async () => {
    try {
      await createUserMutation.mutateAsync({
        name: name,
        email: email,
      });
      setName("");
      setEmail("");
      fetchAllUsers.refetch();
    } catch (error) {
      console.log(error);
    }
  };

  const handleUpdateUser = async () => {
    try {
      await updateUserMutation.mutateAsync({
        id: userIdToUpdate,
        name: nameToUpdate,
        email: emailToUpdate,
      });
      setNameToUpdate("");
      setEmailToUpdate("");
      setUserIdToUpdate("");
      fetchAllUsers.refetch();
    } catch (error) {
      console.log(error);
    }
  };

  const handleDeleteUser = async () => {
    try {
      await deleteUserMutation.mutateAsync({
        id: userIdToDelete,
      });
      setUserIdToDelete("");
      fetchAllUsers.refetch();
    } catch (error) {
      console.log(error);
    }
  };

  //return an empty div
  return (
    <div className="mx-auto p-8">
      <div className="mb-8">
        <h2 className="mb-4 text-2xl font-bold">Get All Users</h2>
      </div>
      <button
        className="rounded bg-blue-500 px-4 py-2 text-white hover:bg-blue-600"
        onClick={() => fetchAllUsers.refetch()}
      >
        Get All Users
      </button>

      <div className="text- mb-4 mt-4 grid grid-cols-3 gap-4 font-bold">
        <p>Id</p>
        <p>Name</p>
        <p>Email</p>
      </div>

      {fetchAllUsers.data &&
        fetchAllUsers.data.map((user) => (
          <div
            key={user.id}
            className="my-4 grid grid-cols-3 gap-4 rounded border border-gray-300 bg-white p-4 shadow"
          >
            <p>{user.id}</p>
            <p>{user.name}</p>
            <p>{user.email}</p>
          </div>
        ))}

      {/* Get one user UI */}

      <div className="mb-8">
        <h2 className="mb-4 text-2xl font-bold">Get One User</h2>
        <div className="mb-4 flex">
          <input
            className="mr-2 border border-gray-300 p-2"
            placeholder="Enter user id to get"
            value={userId || ""}
            onChange={(e) => setUserId(String(e.target.value))}
          />
          <button
            className="rounded bg-blue-500 px-4 py-2 text-white hover:bg-blue-600"
            onClick={() => fetchOneUser.refetch()}
          >
            Get One User
          </button>
        </div>
        {fetchOneUser.data && (
          <div>
            <p>Name: {fetchOneUser.data.name}</p>
            <p>Email: {fetchOneUser.data.email}</p>
          </div>
        )}
      </div>

      {/* Create User */}
      <div className="mb-8">
        <h2 className="mb-4 text-2xl font-bold">Create New User</h2>
        <div className="mb-4 flex">
          <input
            className="mr-2 w-1/2 border border-gray-300 p-2"
            placeholder="Name"
            value={name}
            onChange={(e) => setName(e.target.value)}
          />
          <input
            className="w-1/2 border border-gray-300 p-2"
            placeholder="Email"
            value={email}
            onChange={(e) => setEmail(e.target.value)}
          />
        </div>

        <button
          className="rounded bg-green-500 px-4 py-2 text-white hover:bg-green-600"
          onClick={handleCreateUser}
        >
          Create User
        </button>
      </div>

      {/* Update User */}
      <div className="mb-8">
        <h2 className="mb-4 text-2xl font-bold">Update User</h2>
        <div className="mb-4 flex">
          <input
            className="mr-2 w-1/2 border border-gray-300 p-2"
            placeholder="Name to update"
            value={nameToUpdate}
            onChange={(e) => setNameToUpdate(e.target.value)}
          />
          <input
            className="w-1/2 border border-gray-300 p-2"
            placeholder="Email to update"
            value={emailToUpdate}
            onChange={(e) => setEmailToUpdate(e.target.value)}
          />
        </div>
        <input
          placeholder="Enter user id to update"
          className="mr-2 border border-gray-300 p-2"
          value={userIdToUpdate}
          onChange={(e) => setUserIdToUpdate(e.target.value)}
        />
        <button
          className="mt-2 rounded bg-orange-500 px-4 py-2 text-white hover:bg-orange-600"
          onClick={handleUpdateUser}
        >
          Update User
        </button>
      </div>

      {/* Delete User */}

      <div className="mb-8">
        <h2 className="mb-4 text-2xl font-bold">Delete User</h2>
        <input
          placeholder="Enter user id to delete"
          className="mr-2 border border-gray-300 p-2"
          value={userIdToDelete}
          onChange={(e) => setUserIdToDelete(e.target.value)}
        />
        <button
          className="mt-2 rounded bg-red-500 px-4 py-2 text-white hover:bg-red-600"
          onClick={handleDeleteUser}
        >
          Delete User
        </button>
      </div>
    </div>
  );
}
Explanation:
We create a single page application using Next.js, using the
useRouterhook to get the query params from the URL.We use the
useMutationhook fromreact-queryto create, update, and delete users.We use the
useQueryhook fromreact-queryto fetch all users and fetch one user.We have five functions to handle the CRUD operations:
getAllUsers- fetches all usersgetOneUser- fetches one userhandleCreateUser- creates a new userhandleUpdateUser- updates a userhandleDeleteUser- deletes a user
We create a UI for each function styled with Tailwind CSS.
After each operation, we refetch the data to see the changes.
For example, after creating a new user, we refetch all users to see the new user in the list.
For a further explanation, check out the video: https://youtu.be/Gf9RkaHnsR8
Our final project should look like this:

This project is intended as an example so you can use it as a starting point for your projects. If you want to contribute, feel free to open a PR on GitHub (link in the video description).
__
🏁 Conclusion
We built a CRUD API using the following technologies:
Next.js
TypeScript
Tailwind CSS
tRPC
Prisma
Postgres
Docker
If you prefer a video version:
All the code is available for free on GitHub (link in video description).
You can connect with Francesco here