# Node.js Development Environment Setup
VIDEO OF THE ARTICLE:
In this video, I will follow and explain the article
[](https://youtu.be/8y5QNwknZMc)
In this article, we will see how to set up the development environment for a Node.js Application.
We will use:
- Node.js (JavaScript Runtime Engine)
- Express (Node.js Framework to create backend application easily)
- Nodemon (JavaScript Library to reload the application whenever some file changes. useful in development)
- TypeScript: a superset of JavaScript and adds optional static typing to the language
- Docker (Platform to deploy applications using containers)
GitHub Repository:
https://github.com/FrancescoXX/node-ts-nodemon
### NODE

Node is a back-end JavaScript runtime environment, which means briefly that can execute JavaScript code on a computer, for example, yours or the one where Node is installed. The good thing is that, by having Docker, you DON't actually need to install it, because we will use the Node image, and so we can also avoid versioning between my version of Node installed on my machine and yours
### EXPRESS

Express is a minimal and flexible Node.js web application framework that provides a robust set of features for web and mobile applications.
### NODEMON
Nodemon is a tool that helps develop Node.js based applications by automatically restarting the node application when file changes in the directory are detected.
nodemon does not require any additional changes to your code or method of development. nodemon is a replacement wrapper for node
### Typescript

TypeScript is a programming language (developed/maintained by Microsoft).
It is a strict syntactical superset of JavaScript and adds optional static typing to the language. It's designed for the development of large applications and transcompiles to JavaScript.
### DOCKER

Docker is a platform to build run and share application using the idea of containers. If you want a brief introduction, here is a short video
[](https://www.youtube.com/watch?v=eN_O4zd4D9o)
## Step by Step
Create a folder named node-ts-nodemon (or the name you want) and enter into it
```bash
mkdir node-ts-nodemon && cd node-ts-nodemon
```
Initialize the Node.js application using npm
```bash
npm init -y
```
Install Express as a dependency
```bash
npm install express
```
Install the dev dependencies
```bash
npm install -D typescript ts-node nodemon @types/node @types/express
```
In the package.json file add the script part and the main/type
```json
...
"main": "dist/index.js",
"types": "dist/index.d.ts",
"scripts": {
"start": "ts-node src/index.ts",
"build": "tsc",
"dev": "nodemon --legacy-watch"
},
...
```
At this point, your package.json file should look like this (Version could change in the future)
PLease not e that the name is the name of your folder
package.json
```json
{
"name": "node-ts-nodemon",
"version": "1.0.0",
"description": "",
"main": "dist/index.js",
"types": "dist/index.d.ts",
"scripts": {
"start": "ts-node src/index.ts",
"build": "tsc",
"dev": "nodemon --legacy-watch"
},
"keywords": [],
"author": "",
"license": "ISC",
"dependencies": {
"express": "^4.17.1"
},
"devDependencies": {
"@types/express": "^4.17.11",
"@types/node": "^15.0.1",
"nodemon": "^2.0.7",
"ts-node": "^9.1.1",
"typescript": "^4.2.4"
}
}
```
Create a tsconfig.json and modify it according to your needs.
Here is an example for a tsconfig.json file
tsconfig.json
```json
{
"compilerOptions": {
"target": "es5",
"module": "commonjs",
"rootDir": "./",
"outDir": "./build",
"esModuleInterop": true,
"moduleResolution": "node",
"skipLibCheck": true,
"resolveJsonModule": true,
"strict": true
},
"include": ["src"]
}
```
Create a nodemon.json file to configure nodemon
nodemon.json
```json
{
"watch": ["src"],
"ext": "ts,json",
"ignore": ["src/**/*.spec.ts"],
"exec": "ts-node ./src/index.ts"
}
```
Create a 'src' folder and enter into it
```bash
mkdir src && cd src
```
From inside the src folder, create an index.ts file
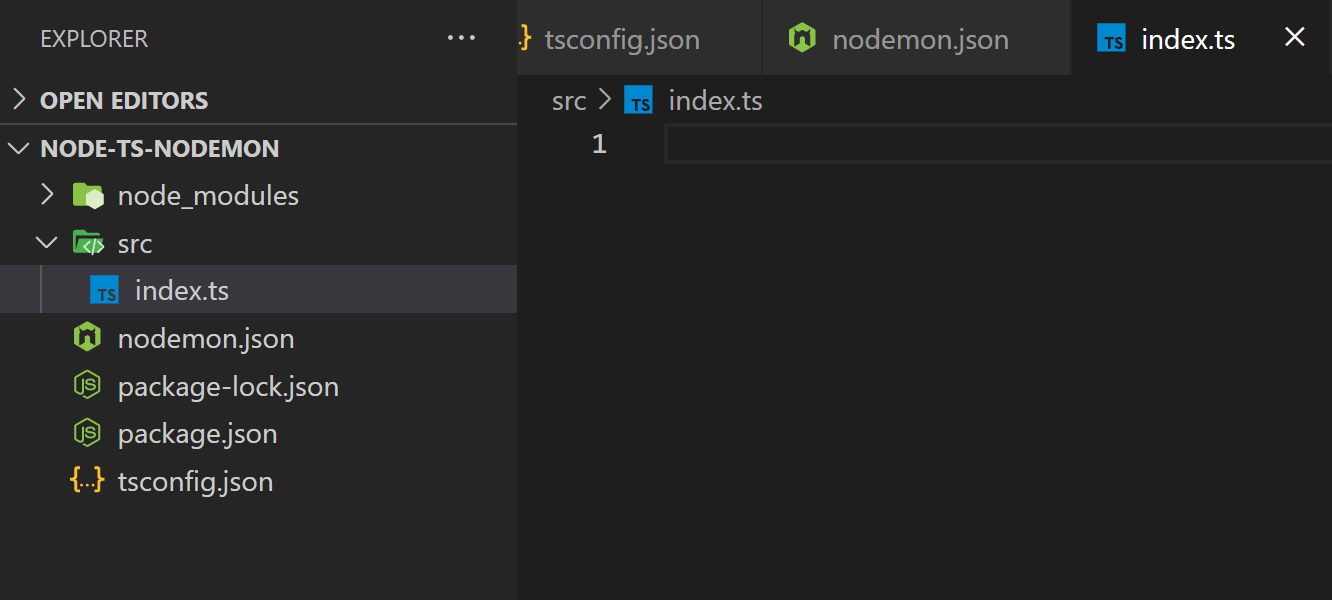
At this point, your folded structure should look like this:
index.ts
```javascript
import express from 'express';
const port = 9000;
const app = express();
app.get('/', (req: Request, res: any) => {
res.json('hello world');
});
app.listen(port, () => {
// tslint:disable-next-line:no-console
console.log(`server started at http://localhost:${port}`);
});
```
At this point, we are ready to test our development setup (without Docker!
from inside the directory where the package.json is located, to test the "Production" environment without the hot reload, type
```
npm start
```
which is the equivalent of `ts-node src/index.ts`
if you navigate on your browser, you should see
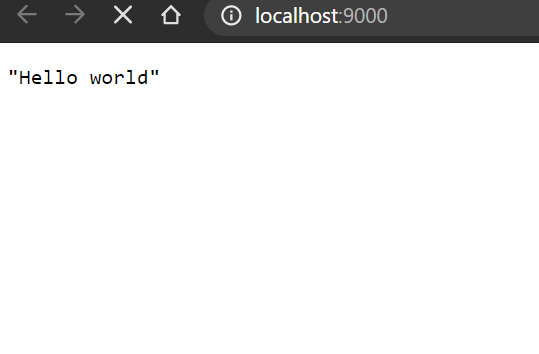
Exciting? Not really. Still, we have our server up and running
Now let's try to run the setup with Nodemon
Type
```bash
npm run dev
```
which is the equivalent of `nodemon --legacy-watch`
Please note that the --legacy-watch is needed on a Windows machine, but it could be omitted on Unix systems (it should work anyway)
You should see this on the console when you launched the command
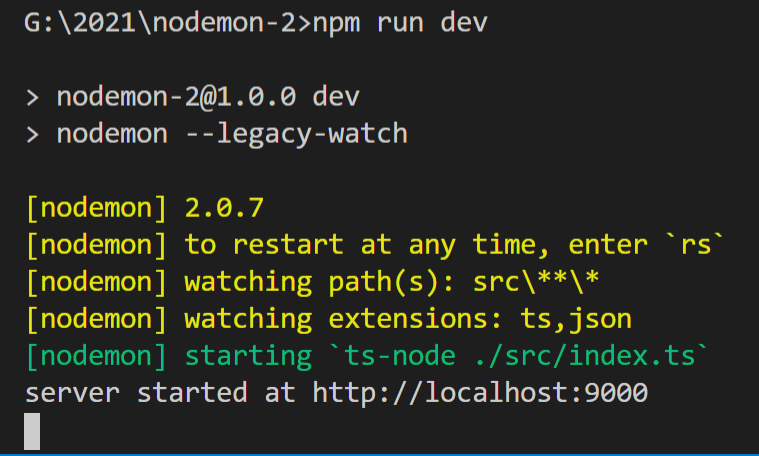
And the same exciting result on the browser
But here is a difference If we edit our file, it reloads automatically, and if you refresh the browser, you will see a different Result
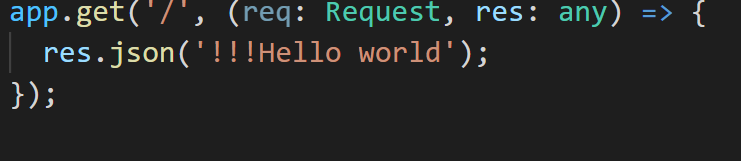
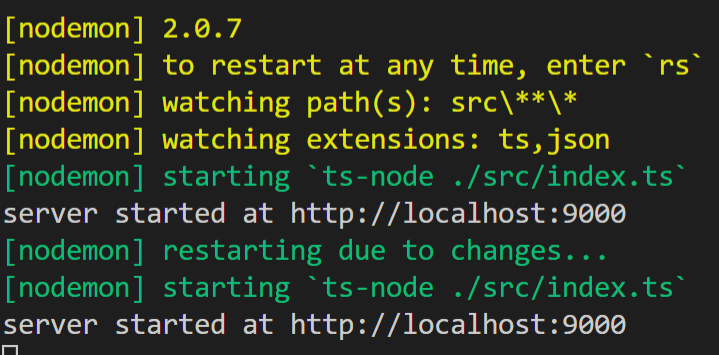
If you see this on the console when you save the file, it mean that it worked, check the browser after a couple of seconds
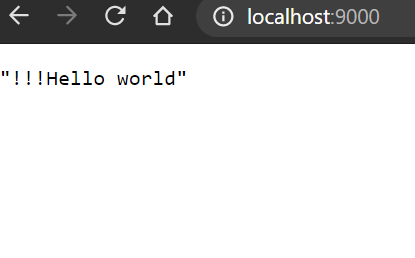
End first part!
Now the things will get interesting when we will add Docker
___
# DOCKER
Time to add Docker to this project!
Create 4 files at the same level where the package.json is located:
- .dockerignore (it starts with a dot)
- Dockerfile
- docker-compose.yml
- docker-compose.prod.yml
Let's start with the .dockerignore file. It works in a way similar to the .gitignore, removing from the context each folder when we try to copy or add filters or files during the process of creation of a Docker Image
```bash
node_modules
dist
.git
```
Well, that was easy :)
Now the Dockerfile:
Here, we use what is called Multi-Stage Builds: We create 2 final possible images, based on the same basic one.
This because the development and the environment images are a little bit different, one includes the dev dependencies and it's intended to be used to develop the application, while the other one is intended just for production and does not have the development dependencies.
Of course, this image is NOT a production-ready ONE!, this is just a basic example of how you can get started with that!
Dockerfile
```bash
FROM node:16 as base
# Port
EXPOSE 9000
WORKDIR /src
# Use the latest version of npm
RUN npm install npm@latest -g
COPY package*.json /
FROM base as prod
RUN npm install -g ts-node
RUN npm install --no-optional && npm cache clean --force
COPY . .
CMD ["ts-node", "src/index.ts"]
FROM base as dev
RUN npm install --no-optional && npm cache clean --force
COPY . .
CMD ["npm", "run", "dev"]
```
Check prod and dev: Those will be our target images later. Or to be precise, right now
Let's write the docker-compose.yml file, which will be used for development.
```yml
version: '3.8'
services:
web:
image: nodemon:0.0.1
build:
context: ./
target: dev
volumes:
- .:/src
ports:
- '9000:9000'
```
And now the docker-compose.prod.yml
```yml
version: '3.8'
services:
web:
image: francescoxx/nodemon:0.0.1
build:
context: ./
target: prod
ports:
- '9000:9000'
```
The files look kinda similar, but there are some differences:
- the "image" used in the second one is ready to be pushed to Docker Hub, while the first one is intended to stay only on the developer machine
- the target is different: **dev** for the first one and **prod** for the second one. this maps into the 2 different stages in the Dockerfile
- Last but not least, we can see that in the first one, there is a parameter called "volume". That is used to map an external folder to an internal one, to trigger the hot reload when we run the service with nodemon.
Time to test both of them!
To run the development environment, type:
```bash
docker-compose -f docker-compose.yml up --build
```
This command builds the image (it's builder anyway if you don't have the image on the host machine) and it uses the docker-compose.yml file as input. That is the default one so we could omit that, but in this way, the command is clear in this case since we have 2 docker-compose files
docker will start building the image, and it could take some seconds the first time, but at the end you should see the log of our application
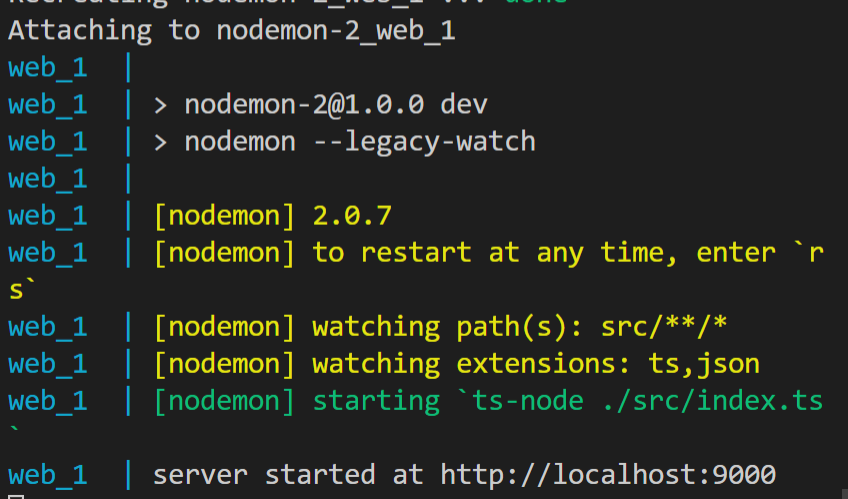
and again the great app by browser
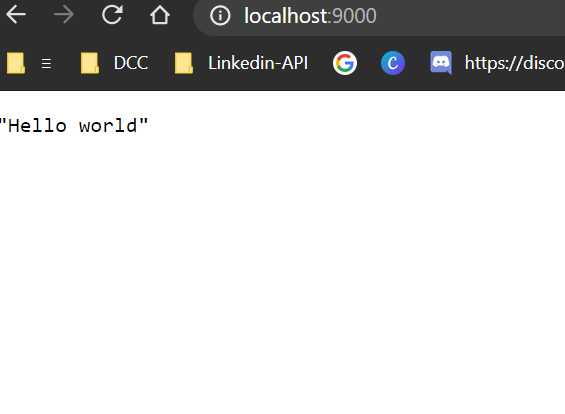
Now try to update the index.ts file

This should trigger the reload....
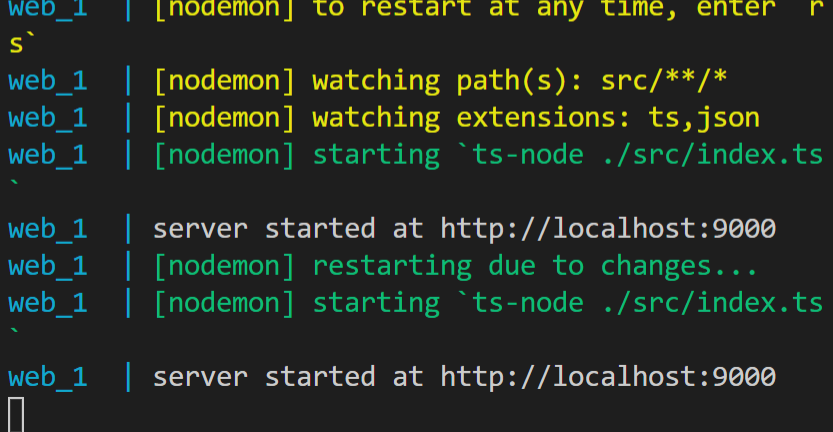
and after a couple of seconds, the app should be updated
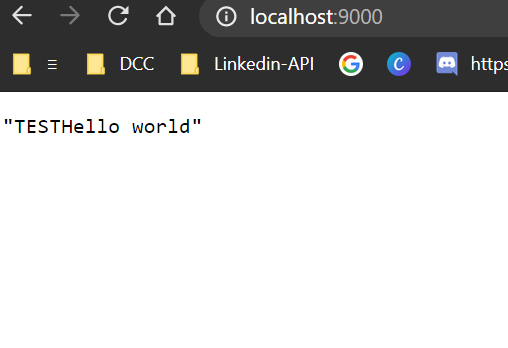
This looks great already, now let's test the production one:
```
docker-compose up -f docker-compose.prod.yml
```

The output on Console is a bit different this time:
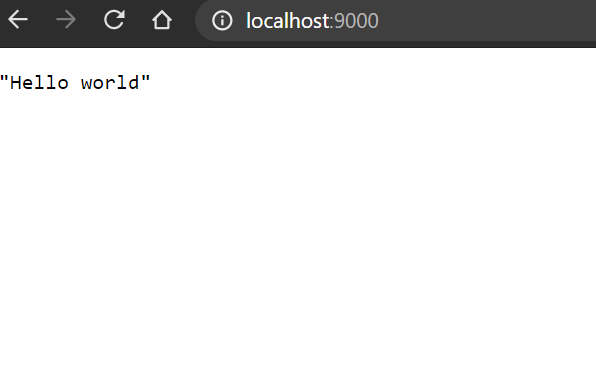
But this time, if we modify the code, it will not use the hot real. This works as intended because this is not meant to be the development environment!